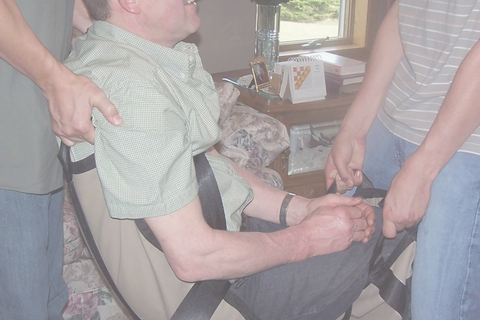


Mount'n Mover
Tobii Dynavox Maestro, T10, T15, V, Vmax, M3, DV4, MT4 Device Plate
DP-DV1
$75.00 USD
Today's date: Apr 26, 2024
-
Designed by the Disabled
for the Disabled -
100% Satisfaction
Guarantee -
Lowest Cost Shipping
Quoted in Cart
 Introduction to Device Attachment
To attach your device to the Mount'n Mover system, you will need to determine how your device can attach to the Quick Release Plate (QRP).
Some devices attach directly to the QRP and others require an additional device specific attachment plate.
Device Attachment Guide
Dynavox - Maestro
This device attachment requires the use of the Dynavox Maestro Mounting Bracket, available from Dynavox or BlueSky Designs.
Please contact us if you want to get this thru BlueSky Designs

Step 1: Place the shallow spacers

Place the shallow spacers over the top three threaded holes on the Maestro.
- three 1/8" plastic spacers
Step 2: Attach the Maestro Mount Spacer

Attach the Maestro Mount Spacer over the plastic spacers placed in step 1, using the three screws provided.
- three #8-32 x ½" flat head screws
Step 3: Attach the DP-DV1

Attach the DP-DV1 using:
- two #8-32 x ½" pan head screws
Step 4: Attach the QRP

Attach the Quick Release Plate using the four shortest screws.
- four #8-32 x ¼" flat head screws
Dynavox - V or M3


DP-DV1 : Rev 7
My plate looks different!
Direct attachment to my QRP
Step 1: Attach the DP-DV1

Attach the DP-DV1 to the two threaded holes on the device using the two screws provided.
- two #8-32 x ⅜" pan head screws
Step 2: Attach the QRP

Attach the Quick Release Plate using the four shorter screws.
- four #8-32 x ¼" flat head screws
Dynavox - Vmax


Step 1: Attach the DP-DV1

Attach the DP-DV1 to the two threaded holes on the device using the two screws provided.
- two #8-32 x ⅜" pan head screws
Step 2: Attach the QRP

Attach the Quick Release Plate using the four shorter screws.
- four #8-32 x ¼" flat head screws
Tango
Instructions Coming Soon
If this does not match your device, please let us know. We want to help.
Shipping Policy:
- We ship to all locations within the United States and internationally.
- In-stock orders are typically processed and shipped within 1-2 business days.
- Shipping rates will vary based on the size and weight of the item(s) and the destination.
- Expedited shipping options are available for an additional cost.
Related Products
By showcasing products that are frequently purchased together or based on a customer's browsing and purchase history,
it can help drive additional sales and increase order values.
Recently Wishlisted
Add on optional description to this section

Tobii Dynavox Maestro, T10, T15, V, Vmax, M3, DV4, MT4 Device Plate
$75.00 USD